Help and Tutorials
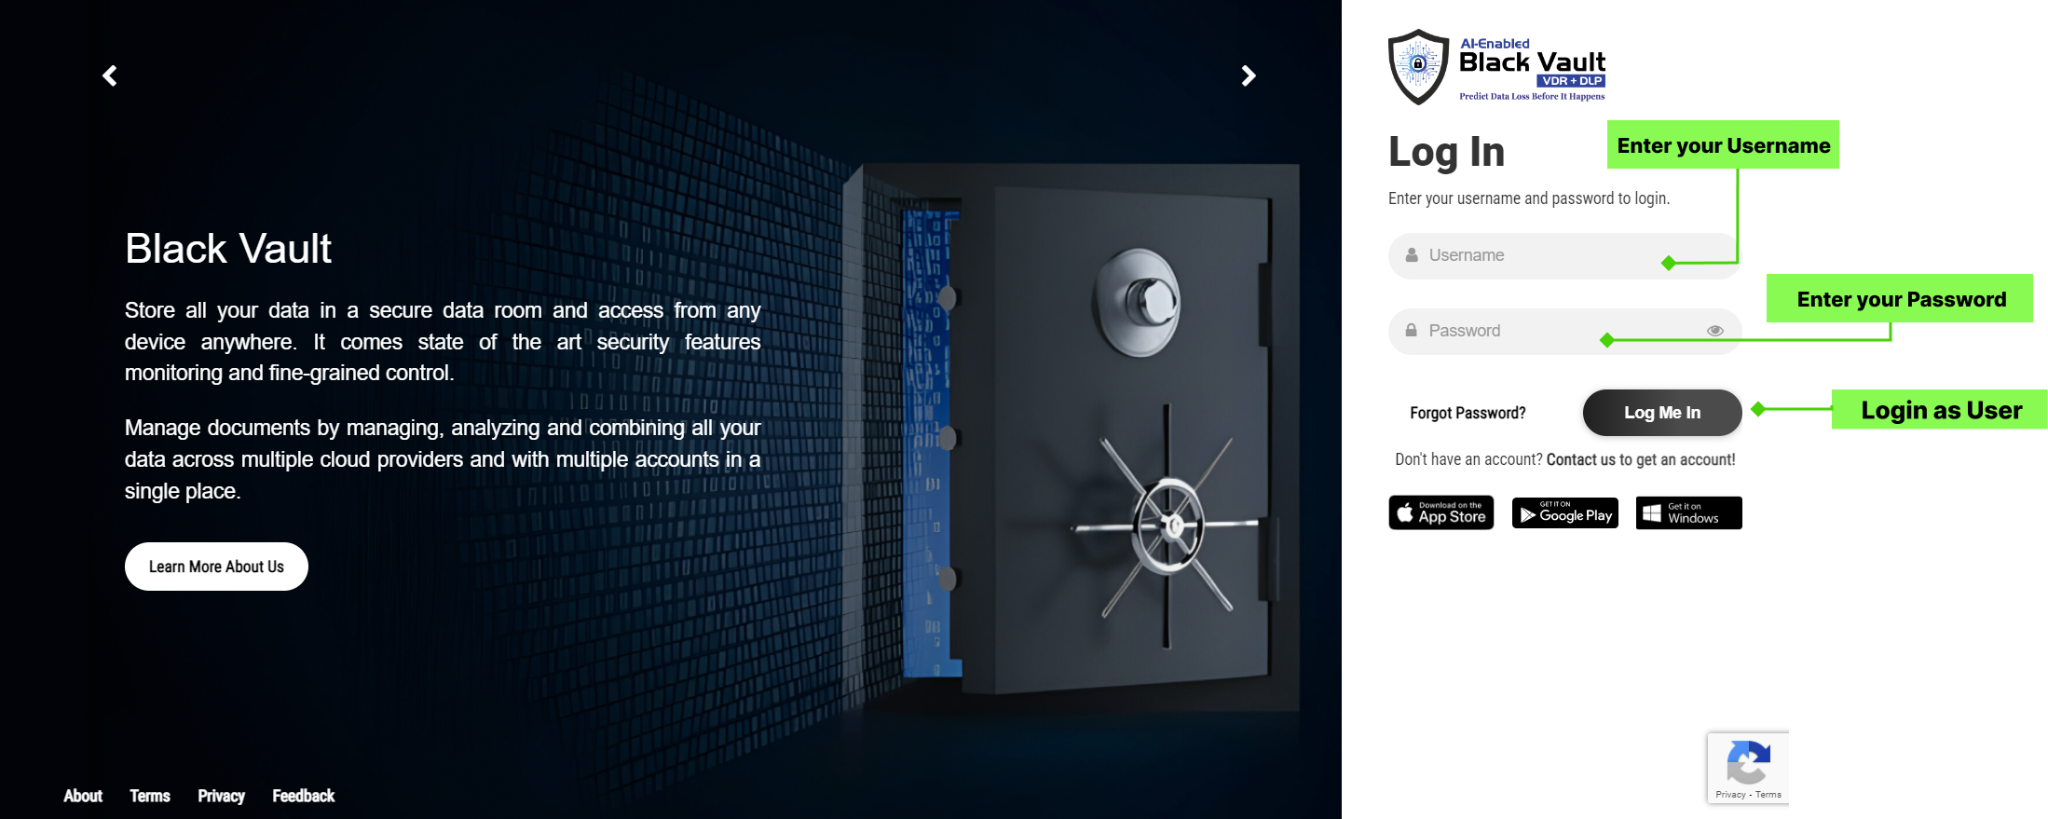
1. Enter your username and Password
2. Click on Log me in
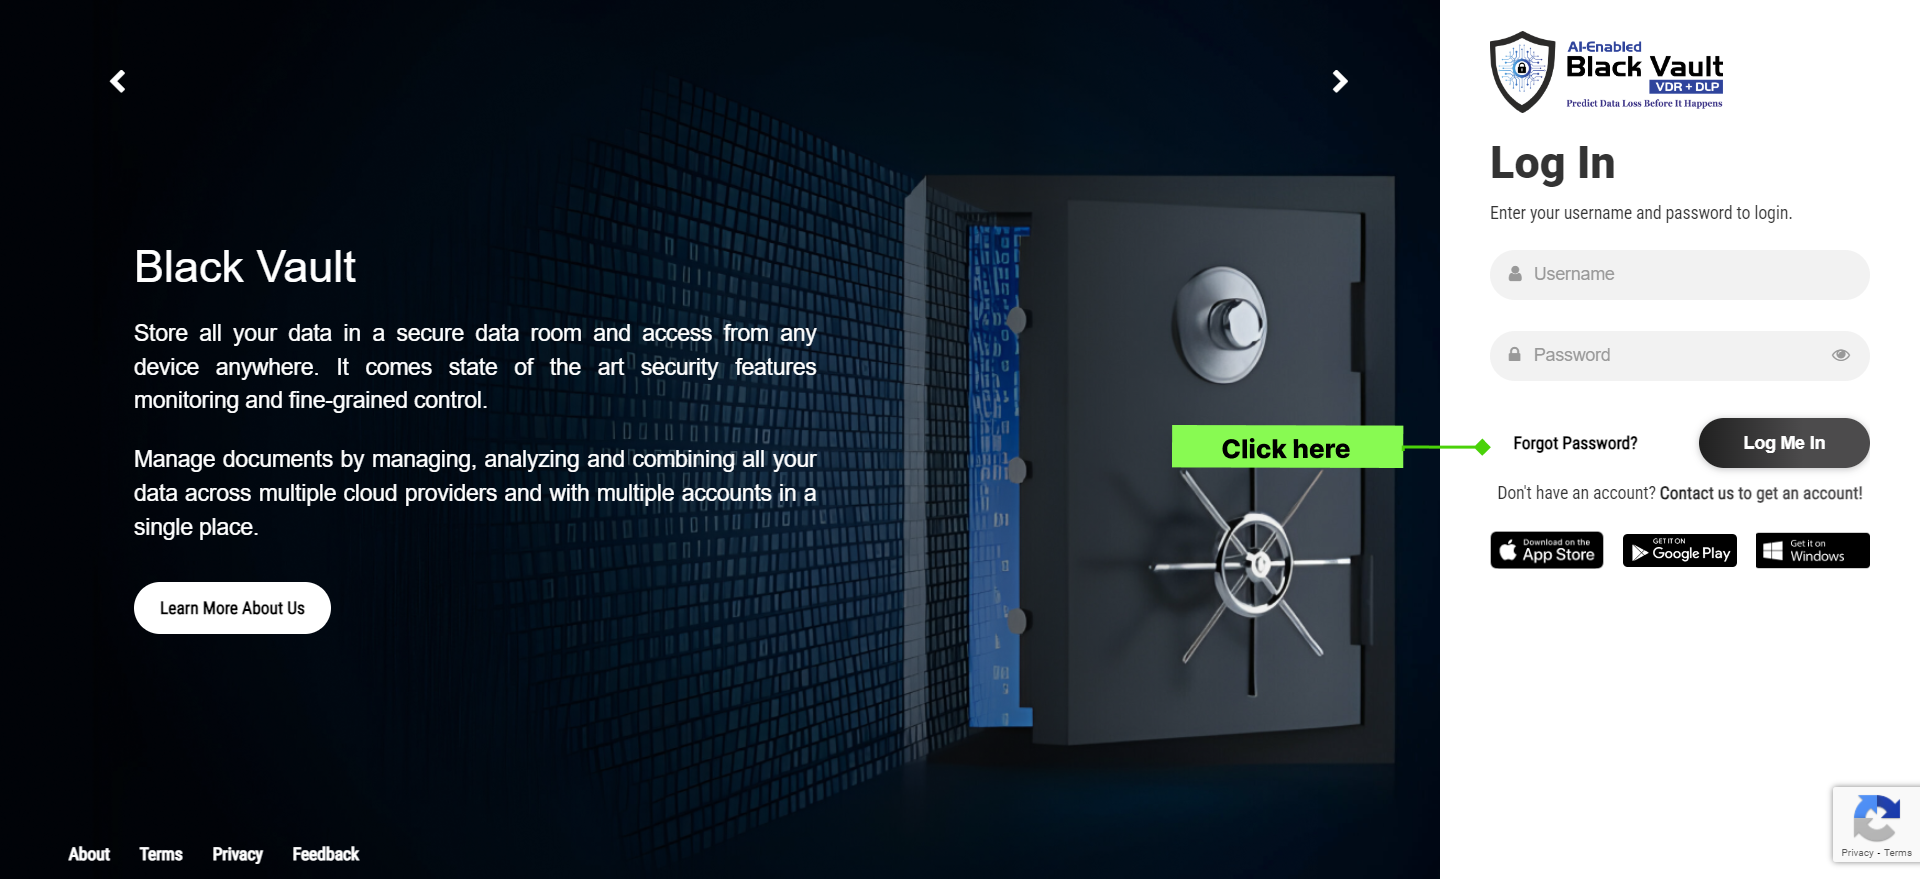
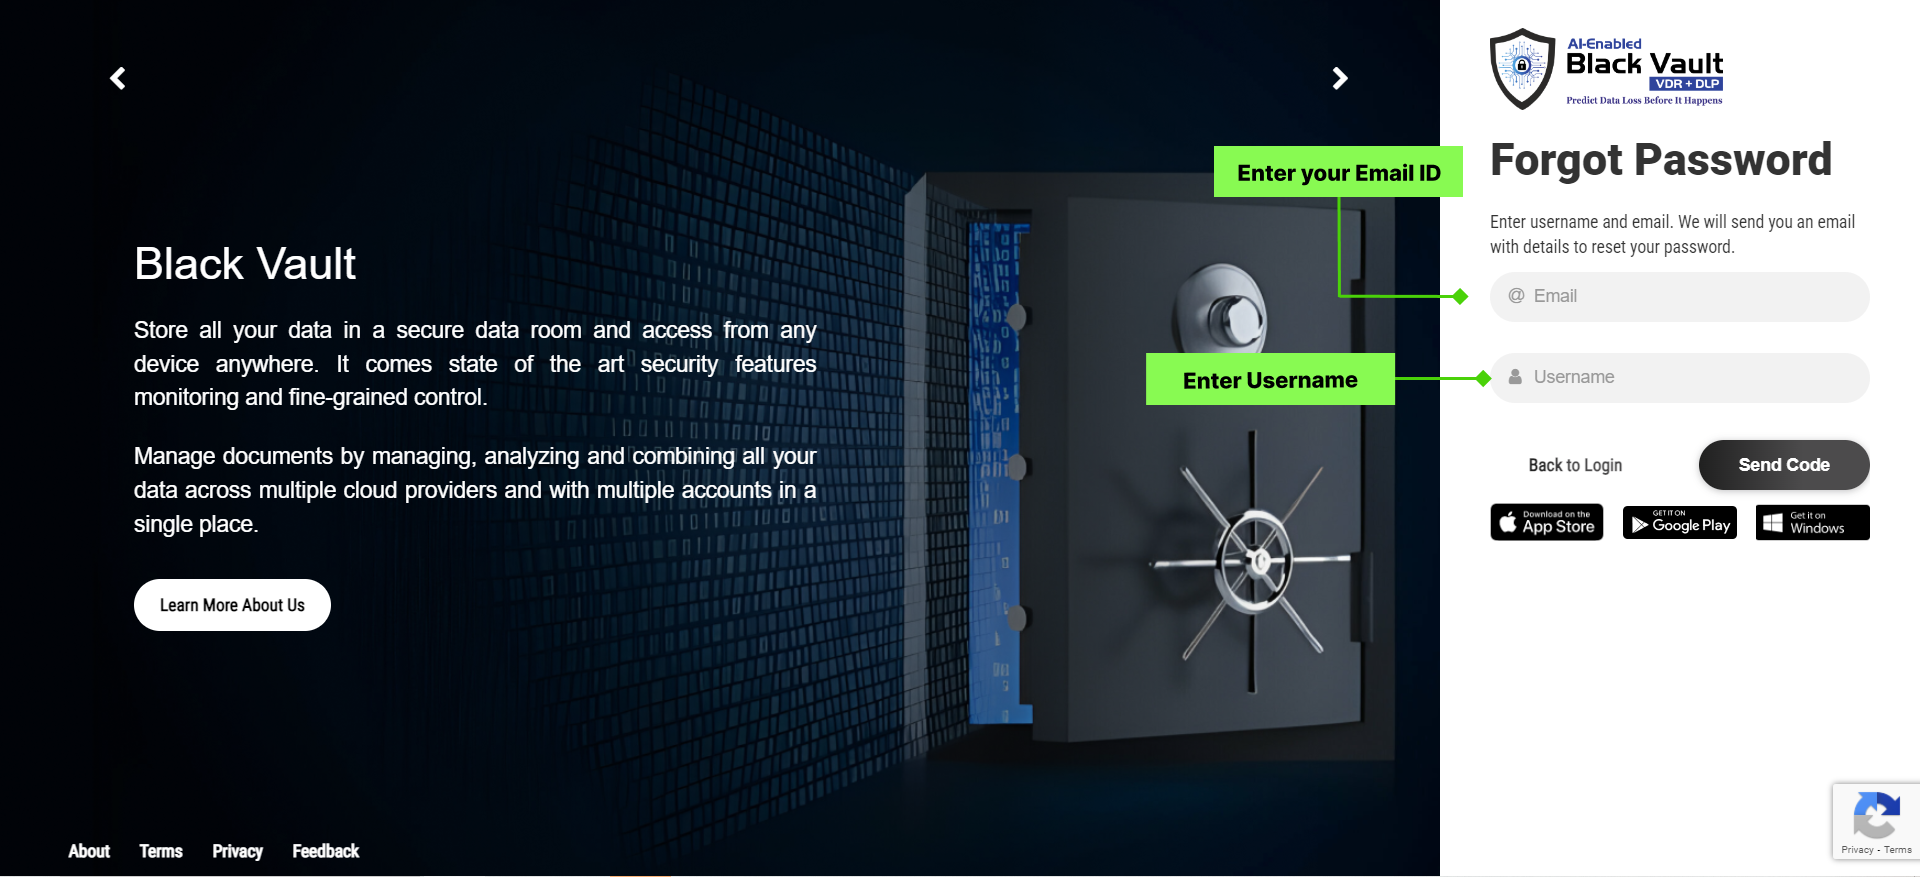
1. Enter your registered email id and username
2. Click on the "Send Code" button.
3. You will receive a code on registered email.
4. Enter "Confirmation Code", "New password " and "Confirm
Password".
5. Then click on the "Reset" button.
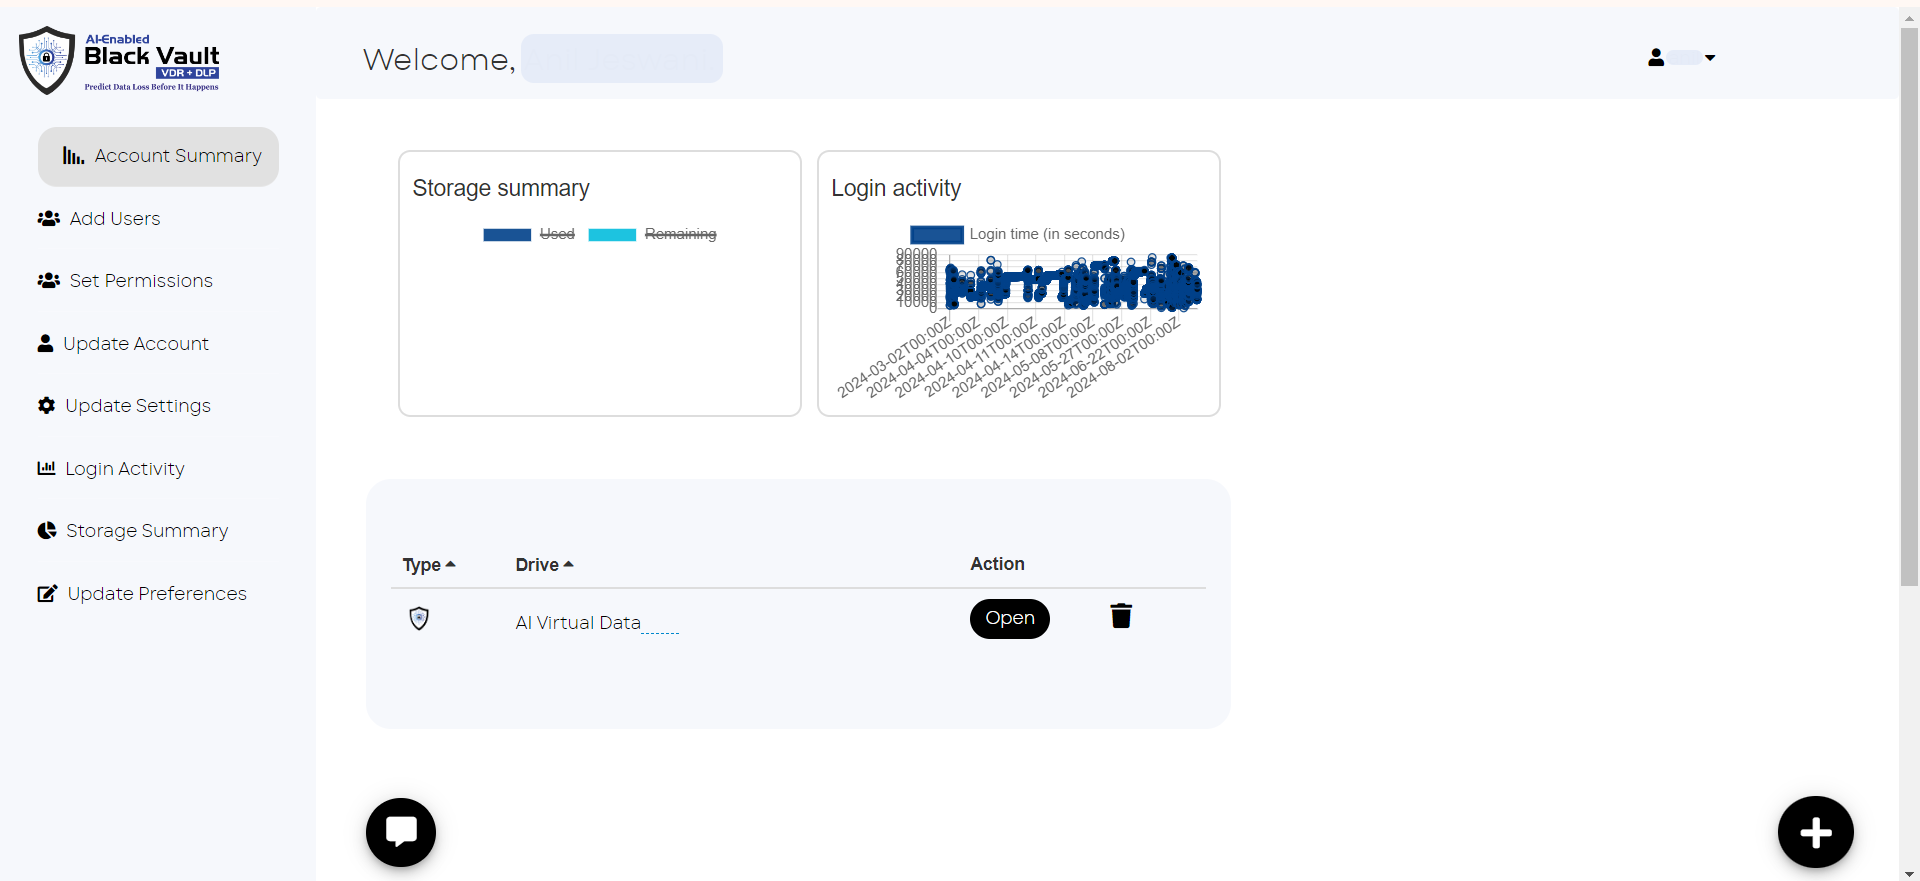
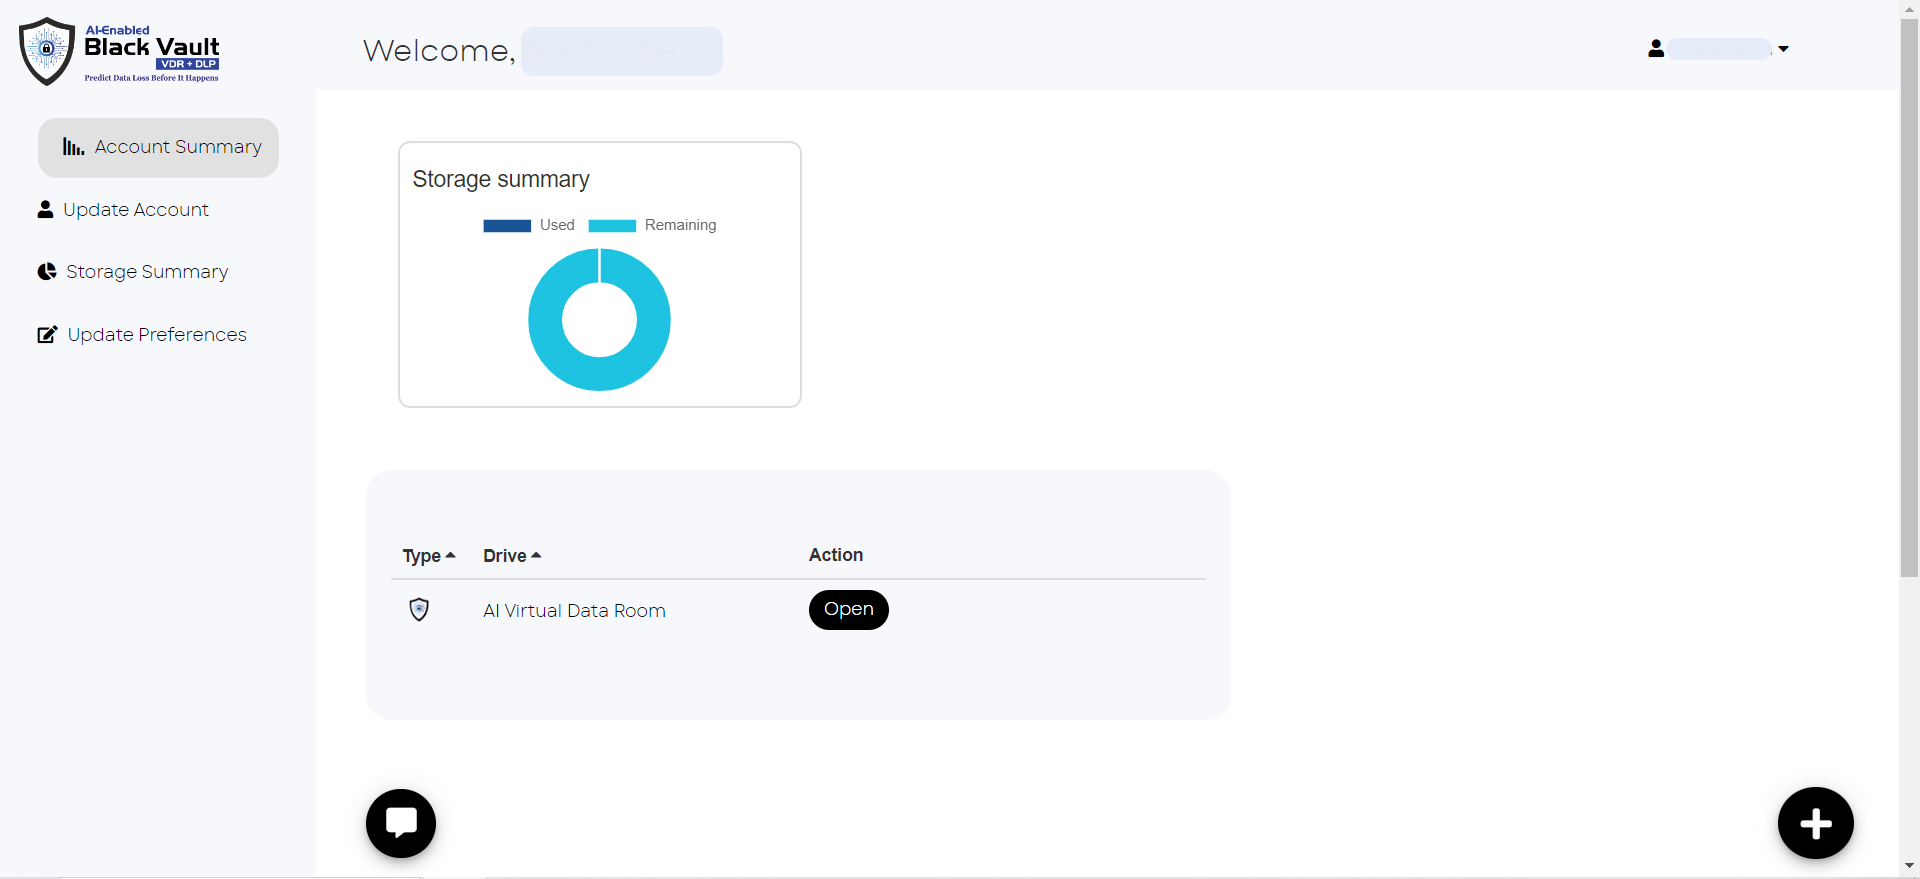
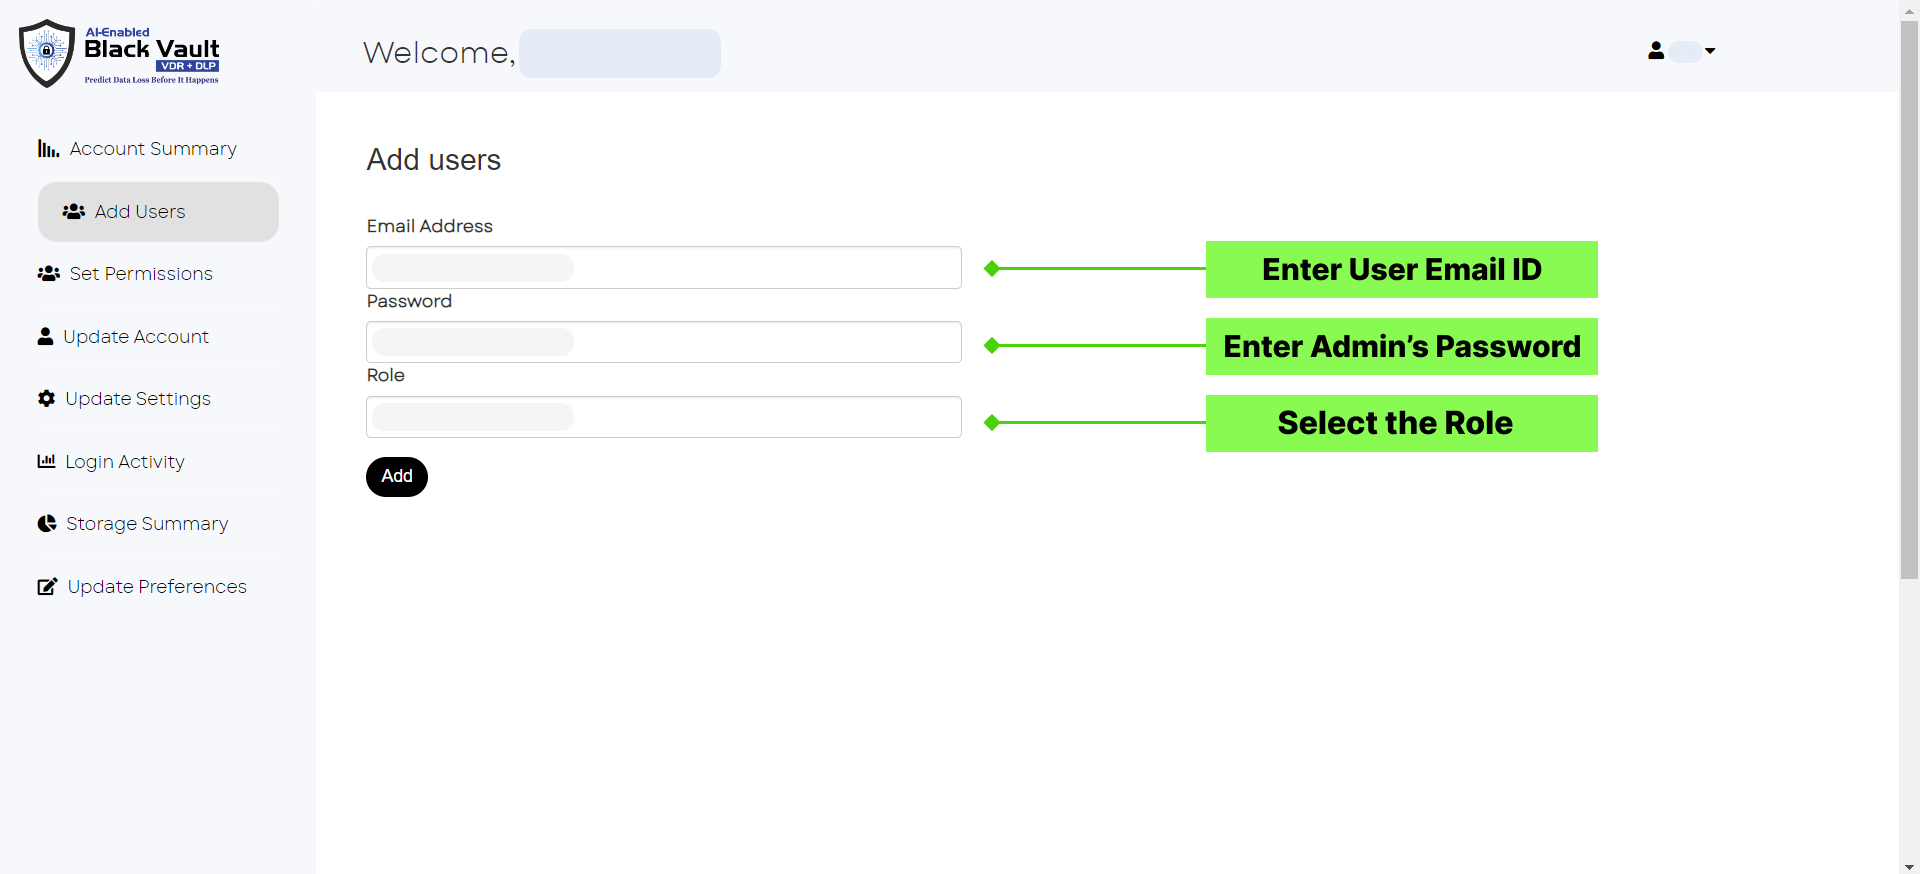
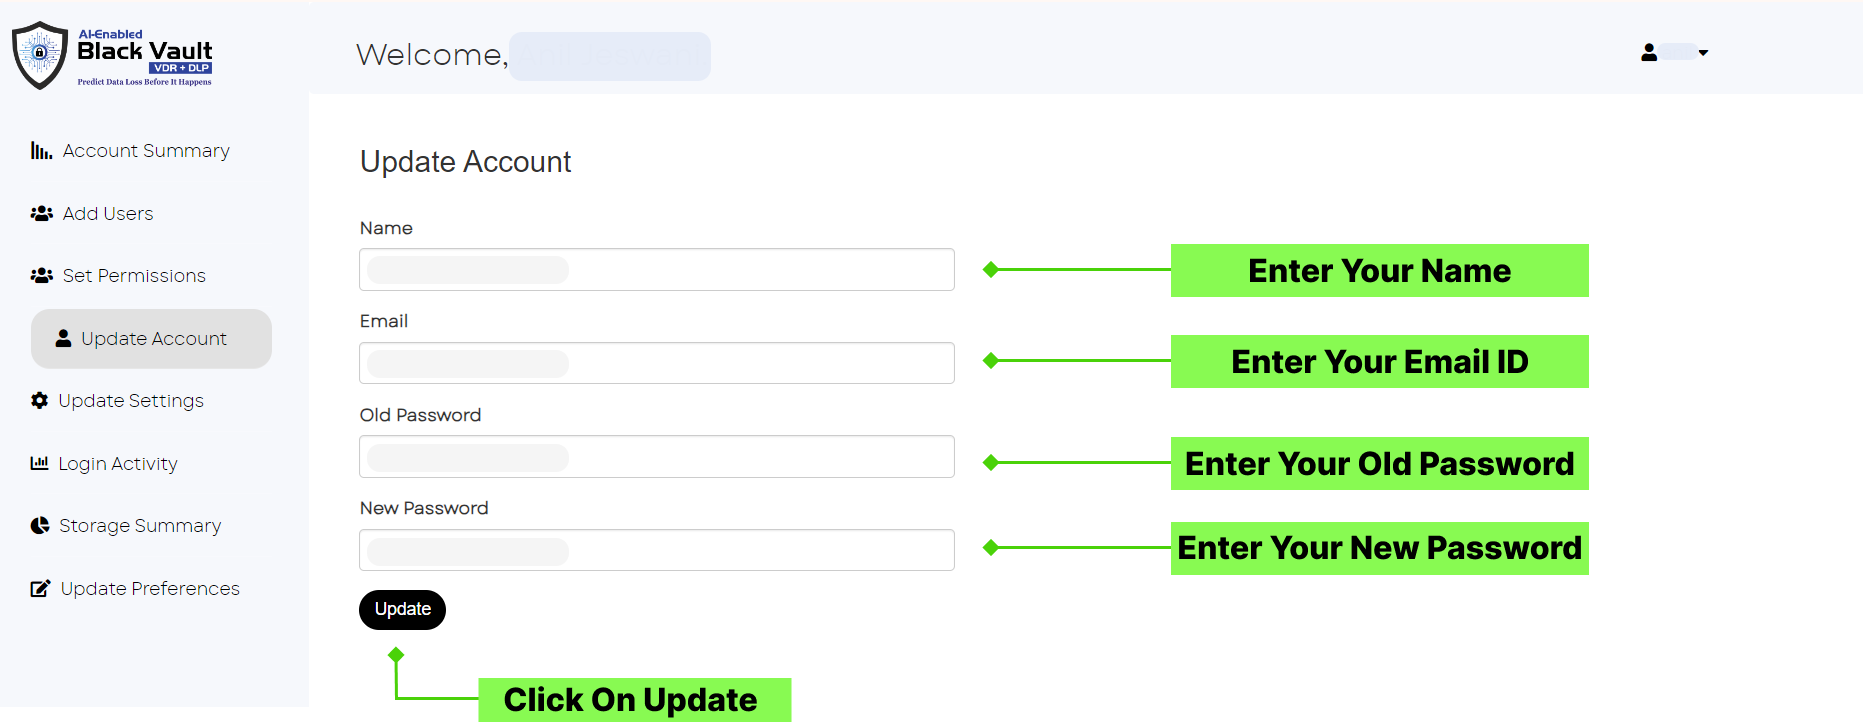
Admin can add users by entering the user email id, password and select role ie. ‘user’ as shown below.
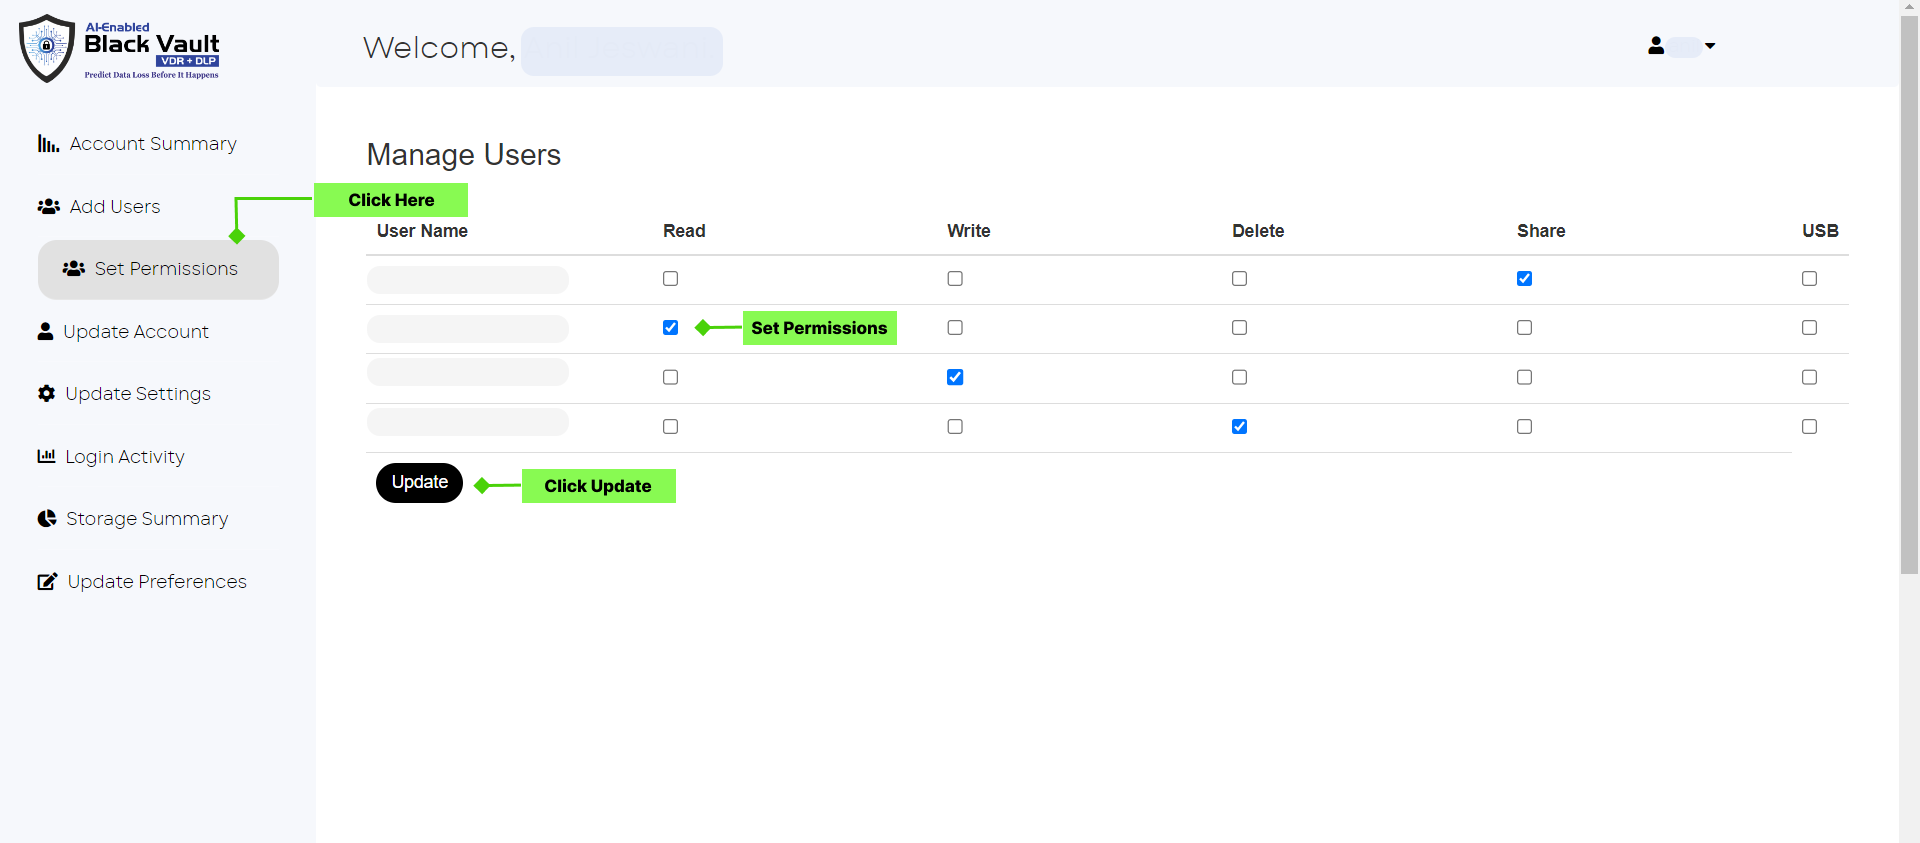
- Click ‘Set Permissions’
-
Modify User roles and access levels (read, write, delete, share,
USB)
- Read: user can only view file but cannot download/upload/share/delete
- Write: User can view , download and upload the file but cannot delete and share
- Delete: User can view , download and upload, delete but cannot share
- Share: User can view , download and upload the file , delete, share
- USB Device: blocks for the desired user.
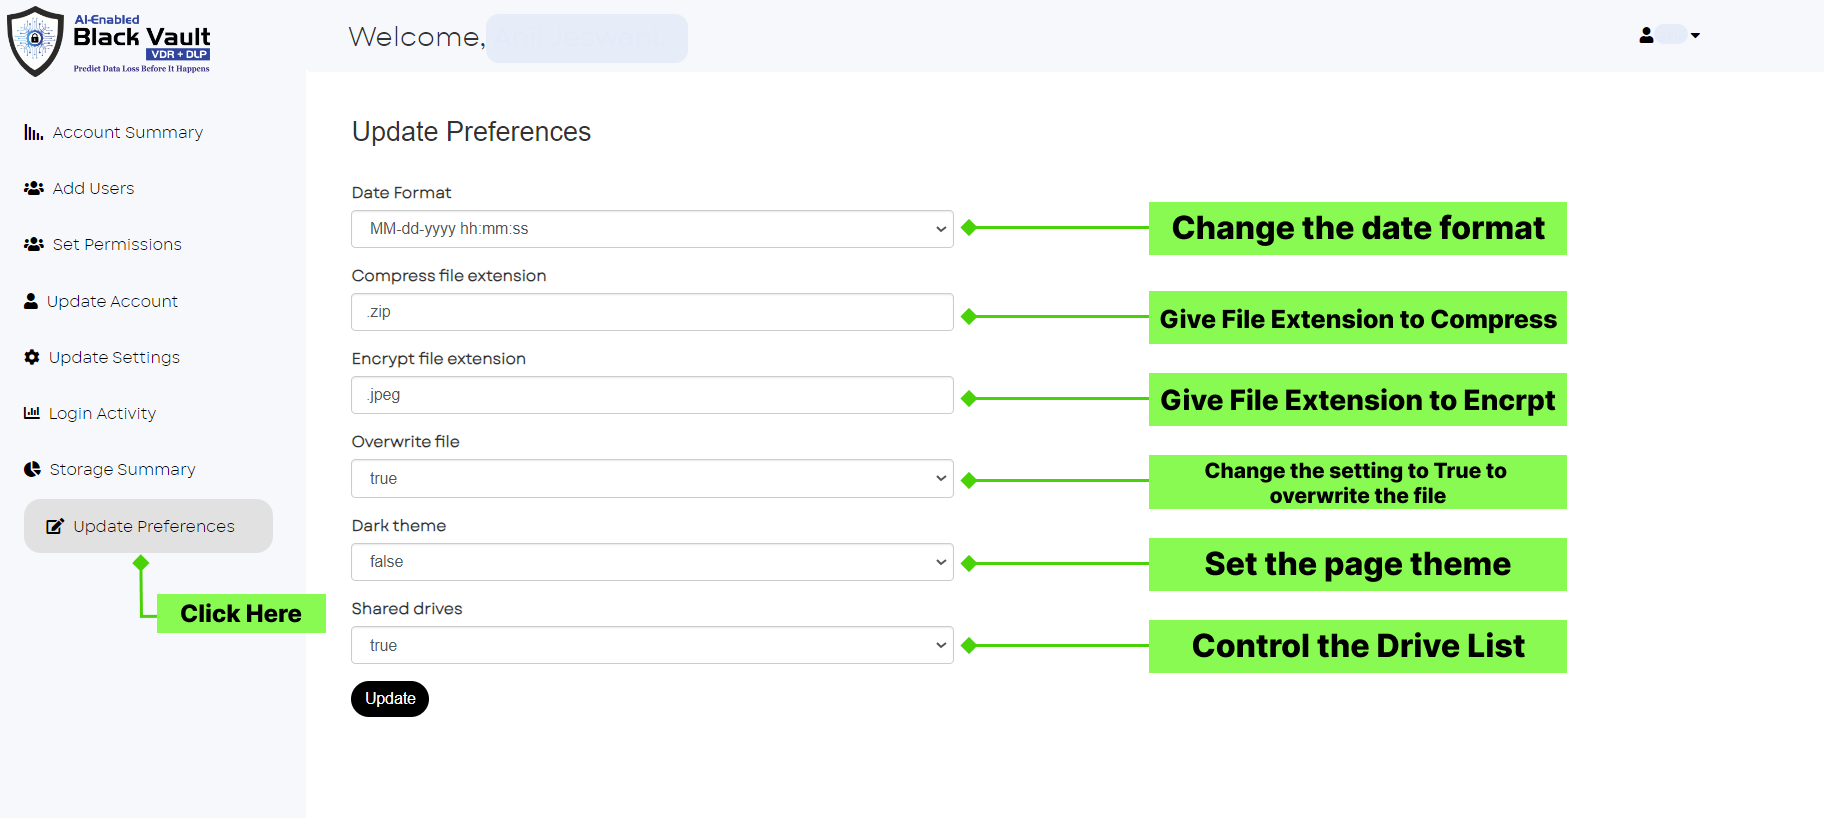
Date Format: select the desired date format Compress file
extension: Set the extension for files when you compress them.
Encrypt file extension: Set the extension for files when you
encrypt them.
Overwrite file: Setting it to true means replacing existing file
with new data/file. This is often done when updating a file or
saving a new version of a document. When overwriting a file, the
new data replaces the old data in the same physical space.
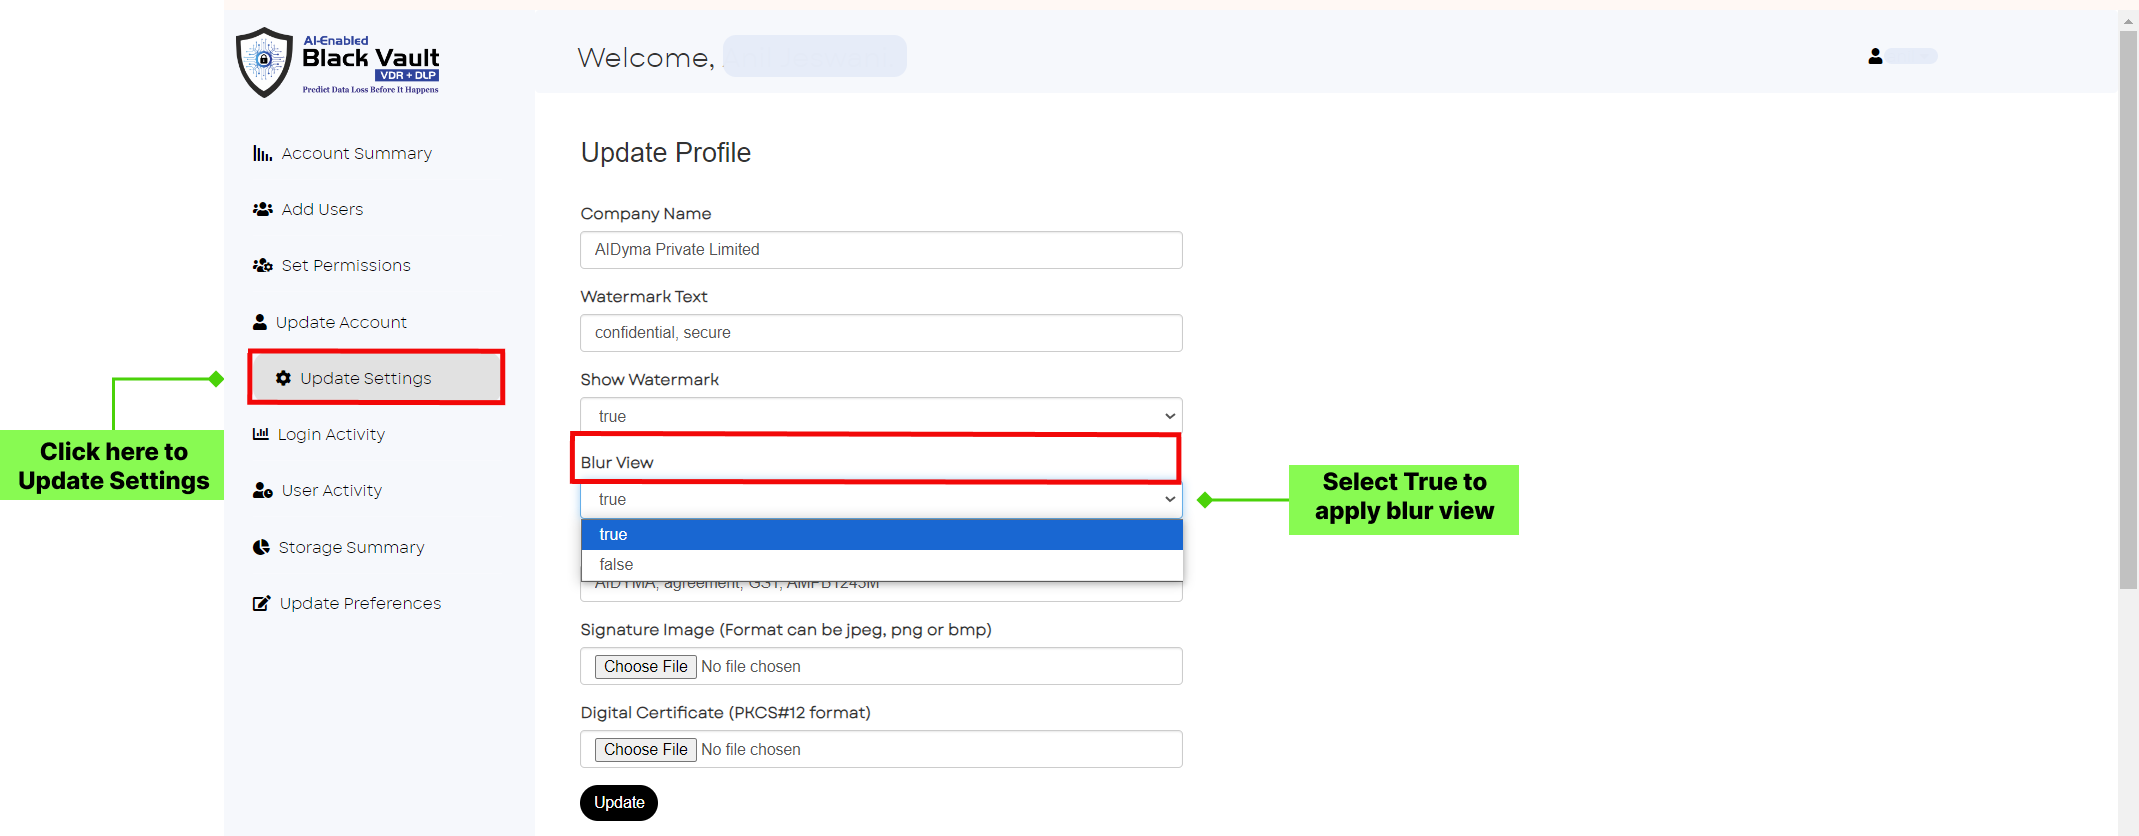
Dark Theme: Setting it true means you change the Color theme of
Data Room to dark mode.
Shared Drives: Setting it true views the drives that are added
Here you can see various folders that are added by uploading or creating new folder. You can create as many as folders you want, Dyma Vault also supports nested folders interface.
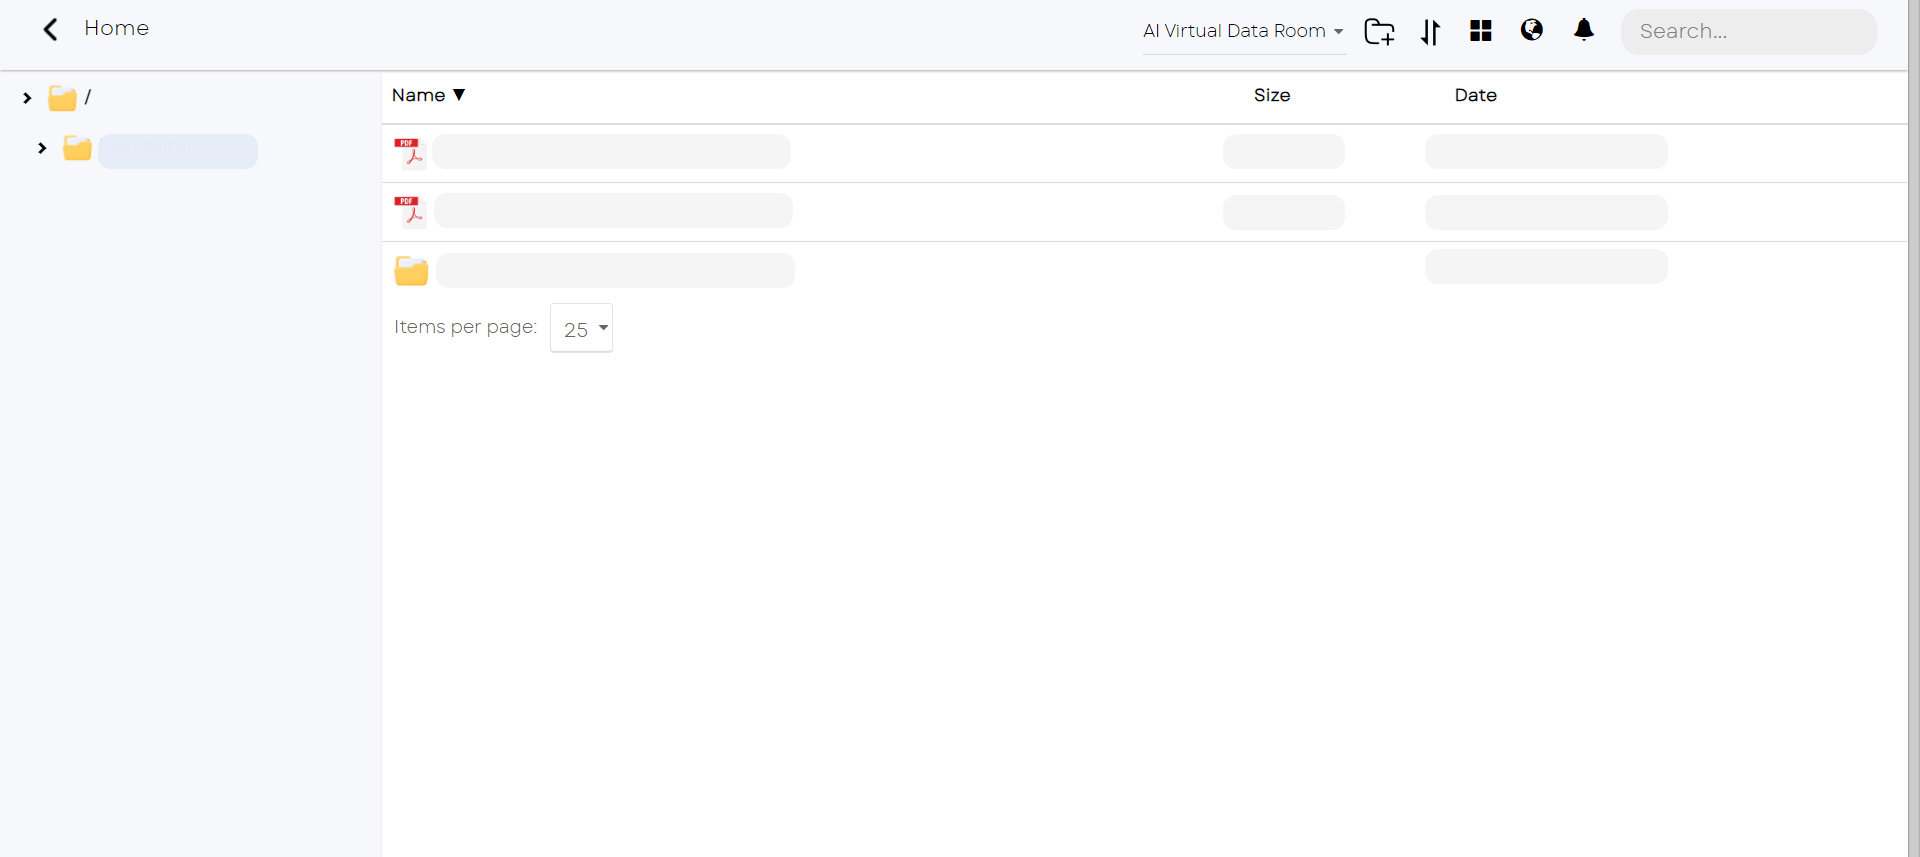
Create new folder or upload a folder to desired destination. Yes, Dyma Vault supports drag-and-drop functionality, allowing you to simply drag files from your computer directly into the desired folder within Dyma Vault. If you have multiple files to upload, yes Dyma Vault supports bulk uploads to save time.


You can sort files according to name (alphabetically), size (descending to ascending) and date.


You will get notified which and when files were used for what purpose.


By Right clicking on the the file, select ‘details’ option.
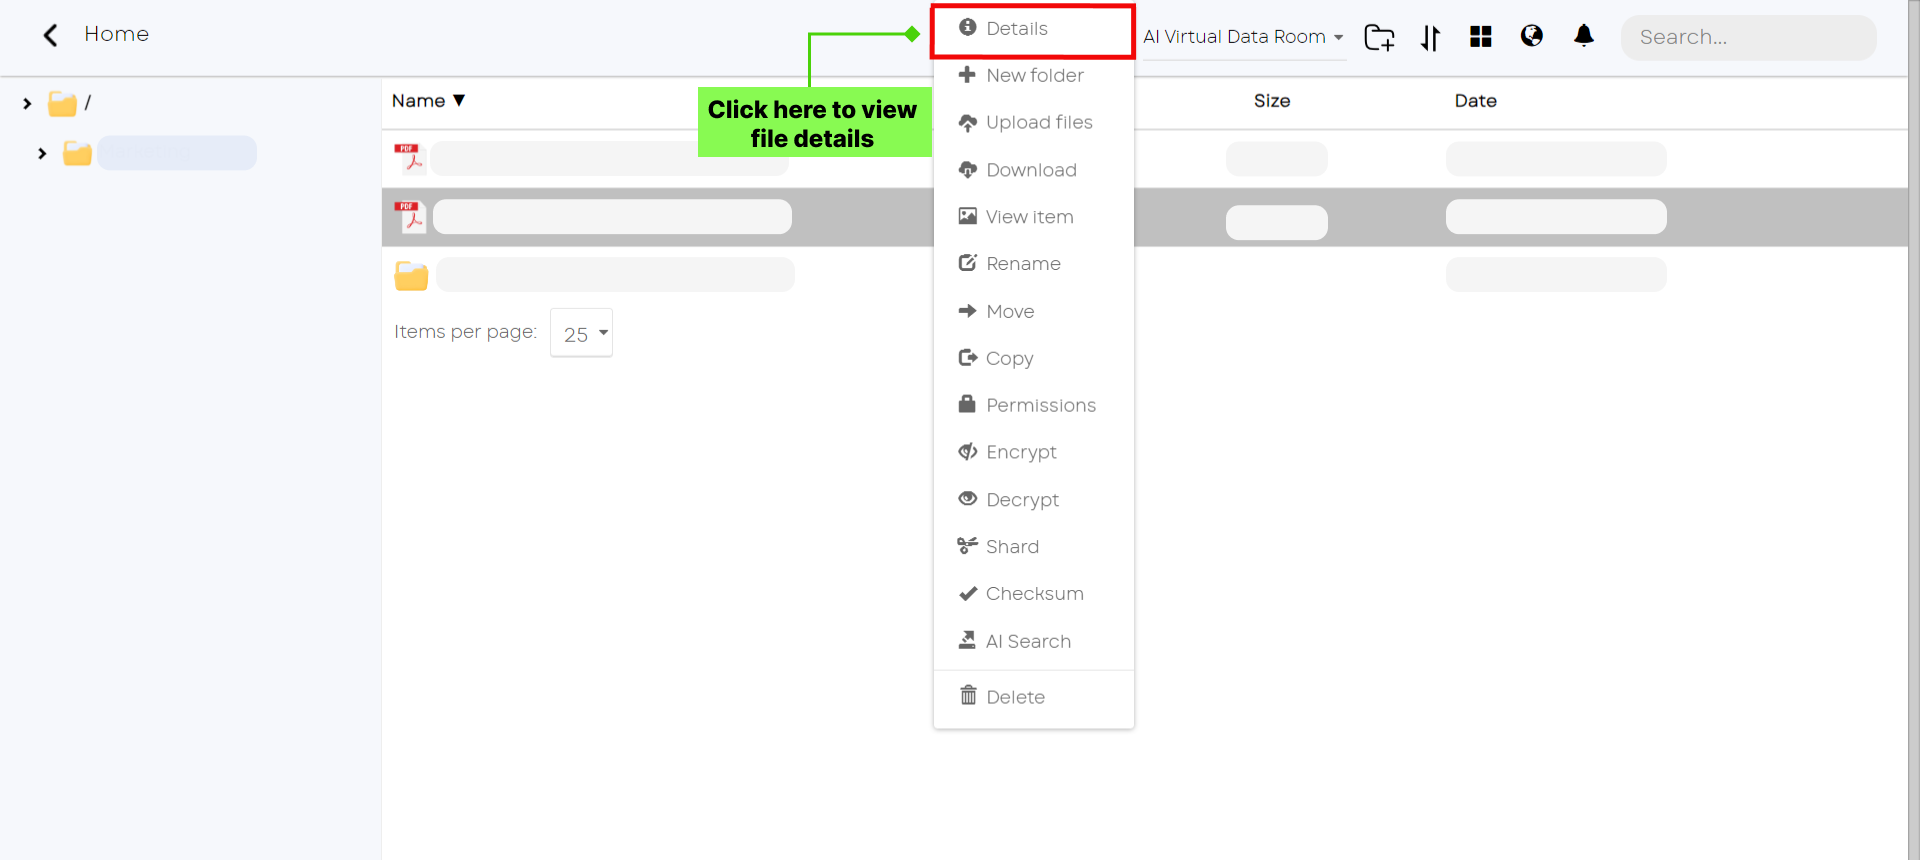
A box appears wherein you will see name, size, date, path (where the file is located)

By Right clicking on the the file, select ‘download’ option. That file gets downloaded to the local machine.
NOTE: Normal user can download the file only when she/he has been granted access.
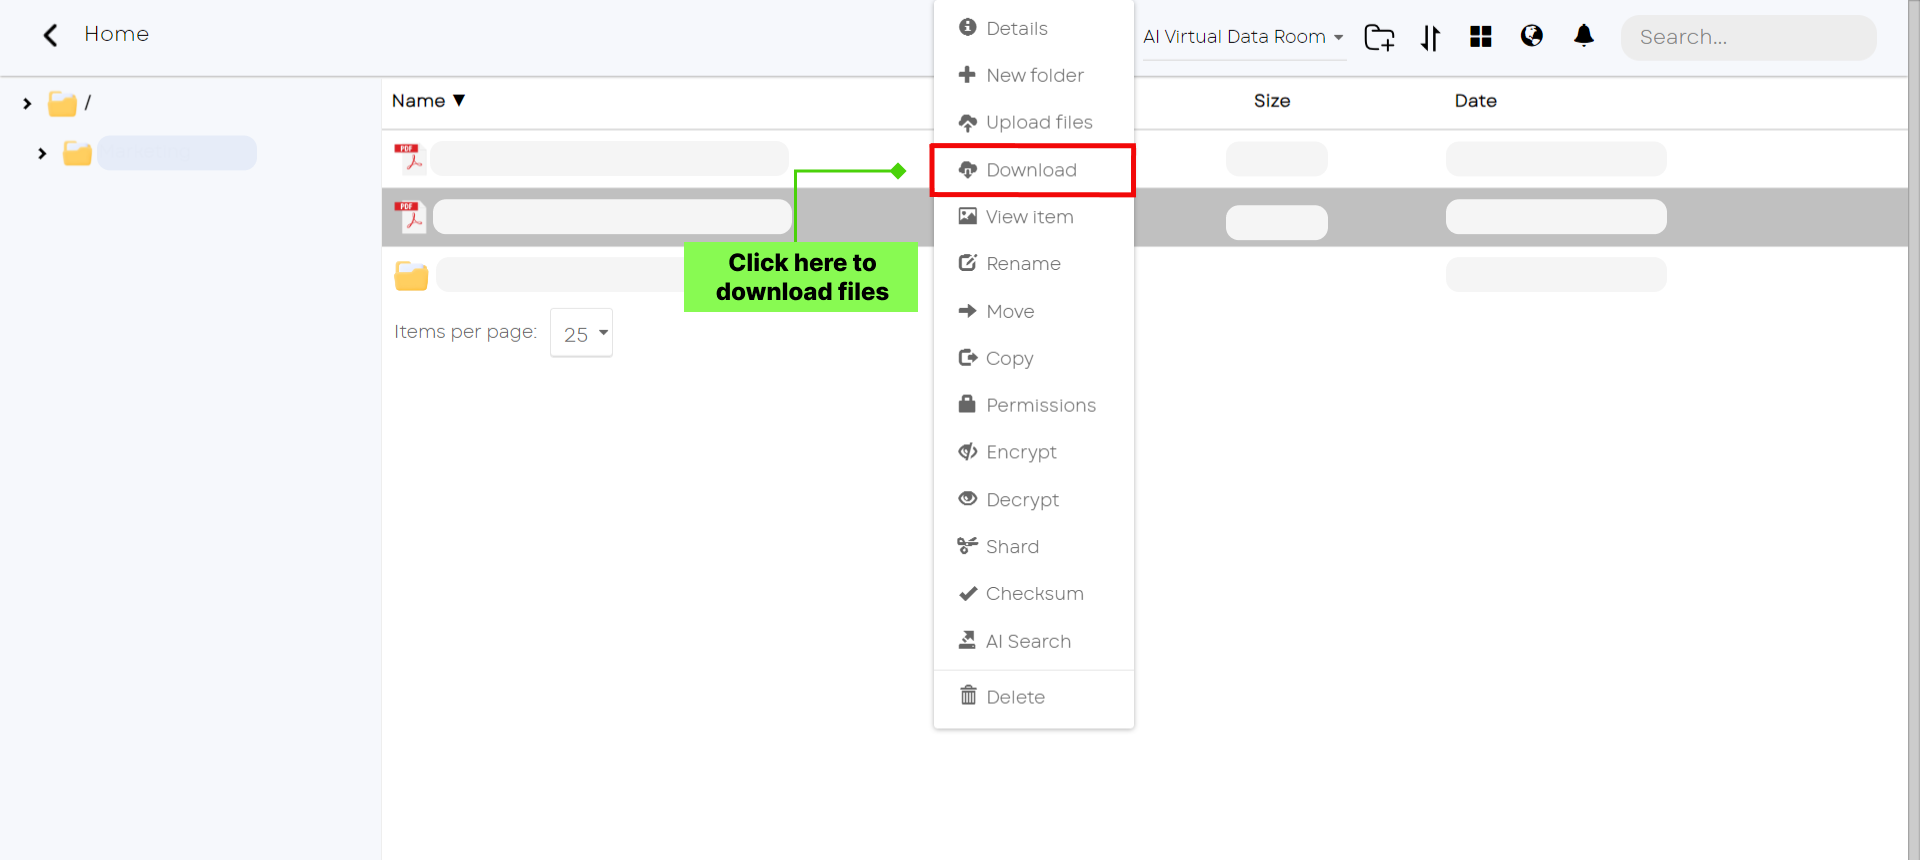
By right clicking on the file, select ‘view item’ so that you can view the file on Dyma Vault premise itself.
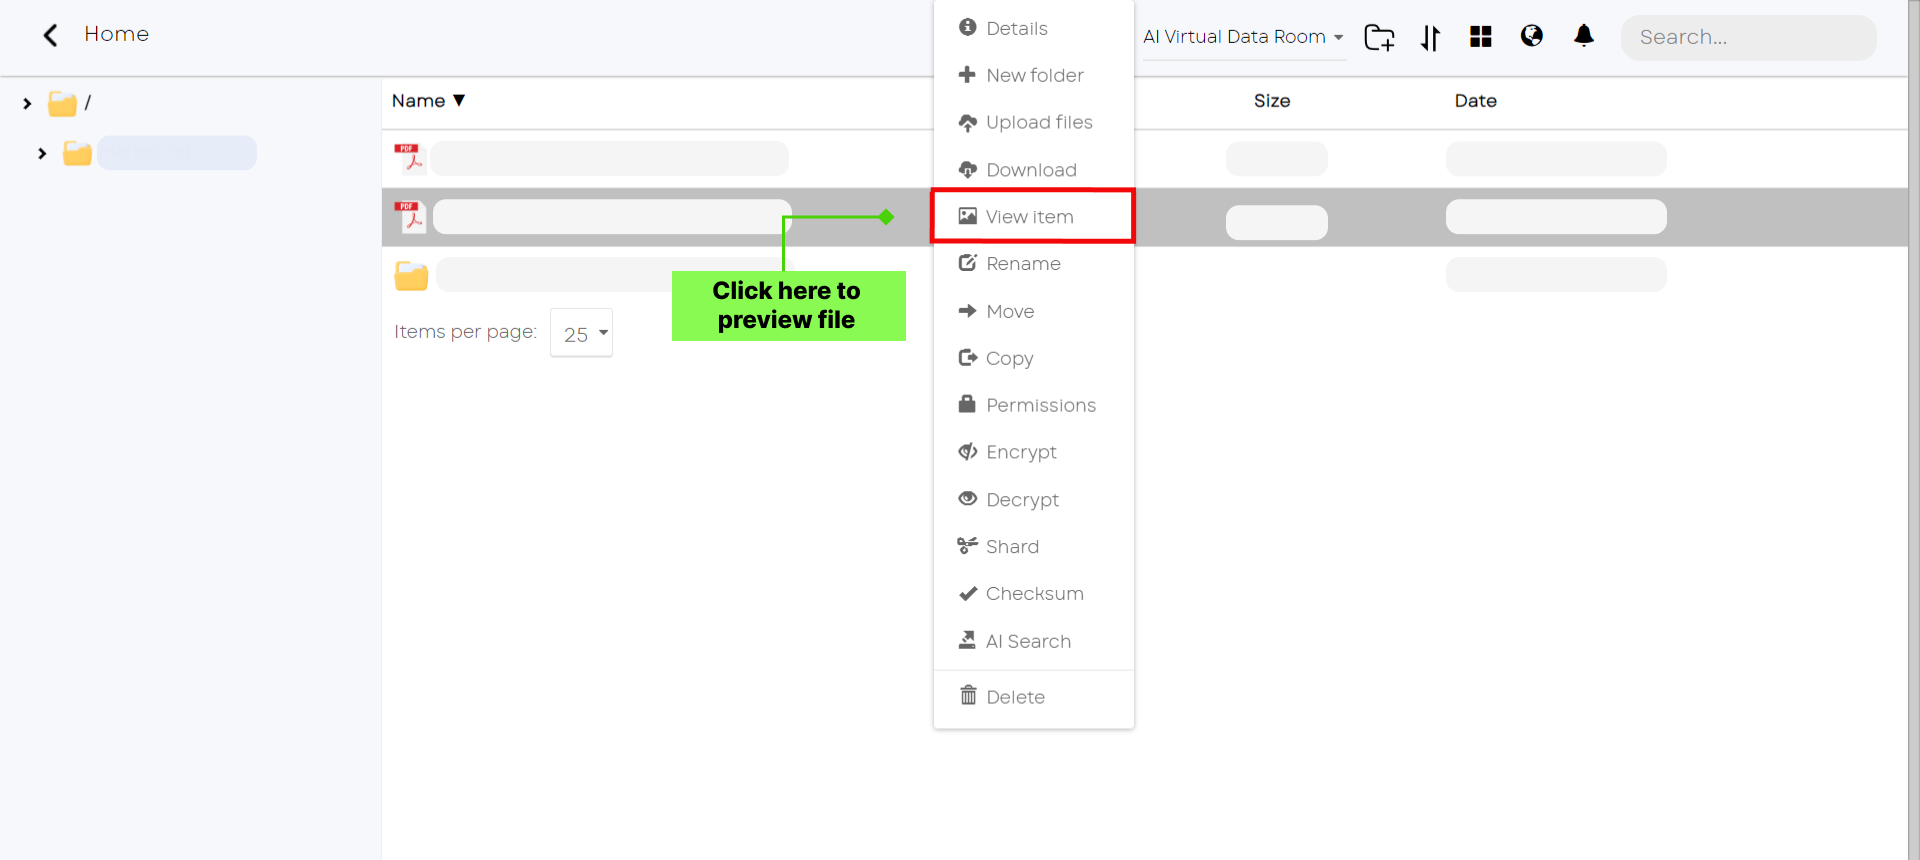
By right clicking on the file, select ‘rename’ to update the name of the file.
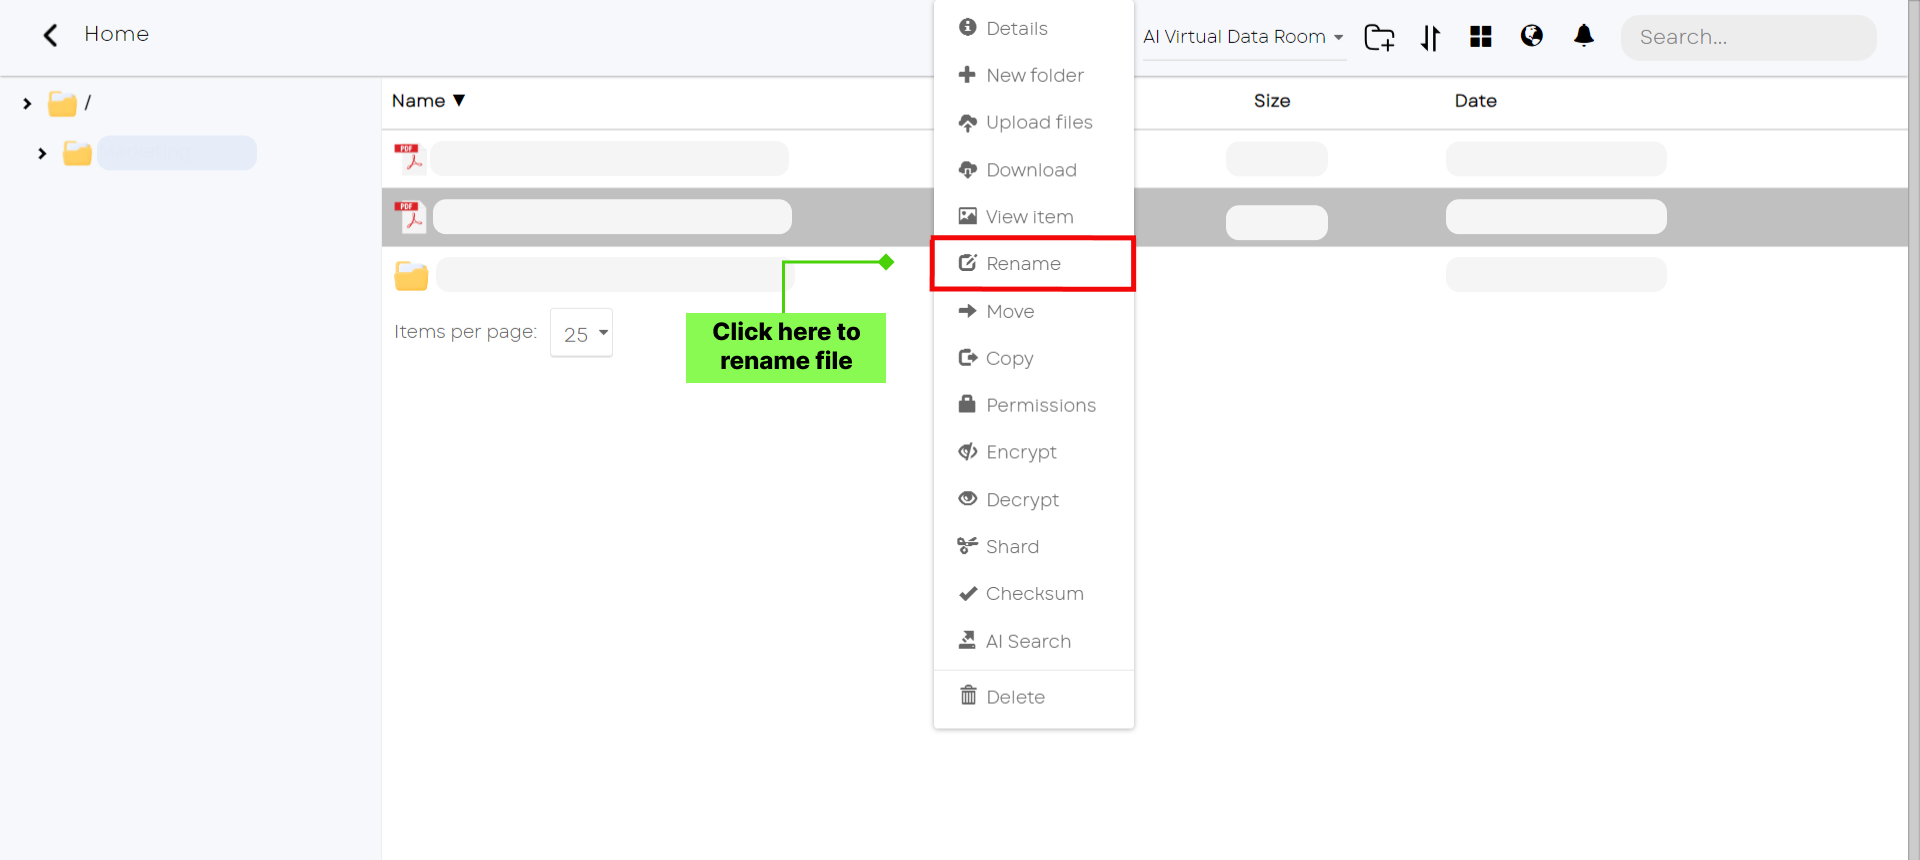
By right clicking on the file, select ‘move’
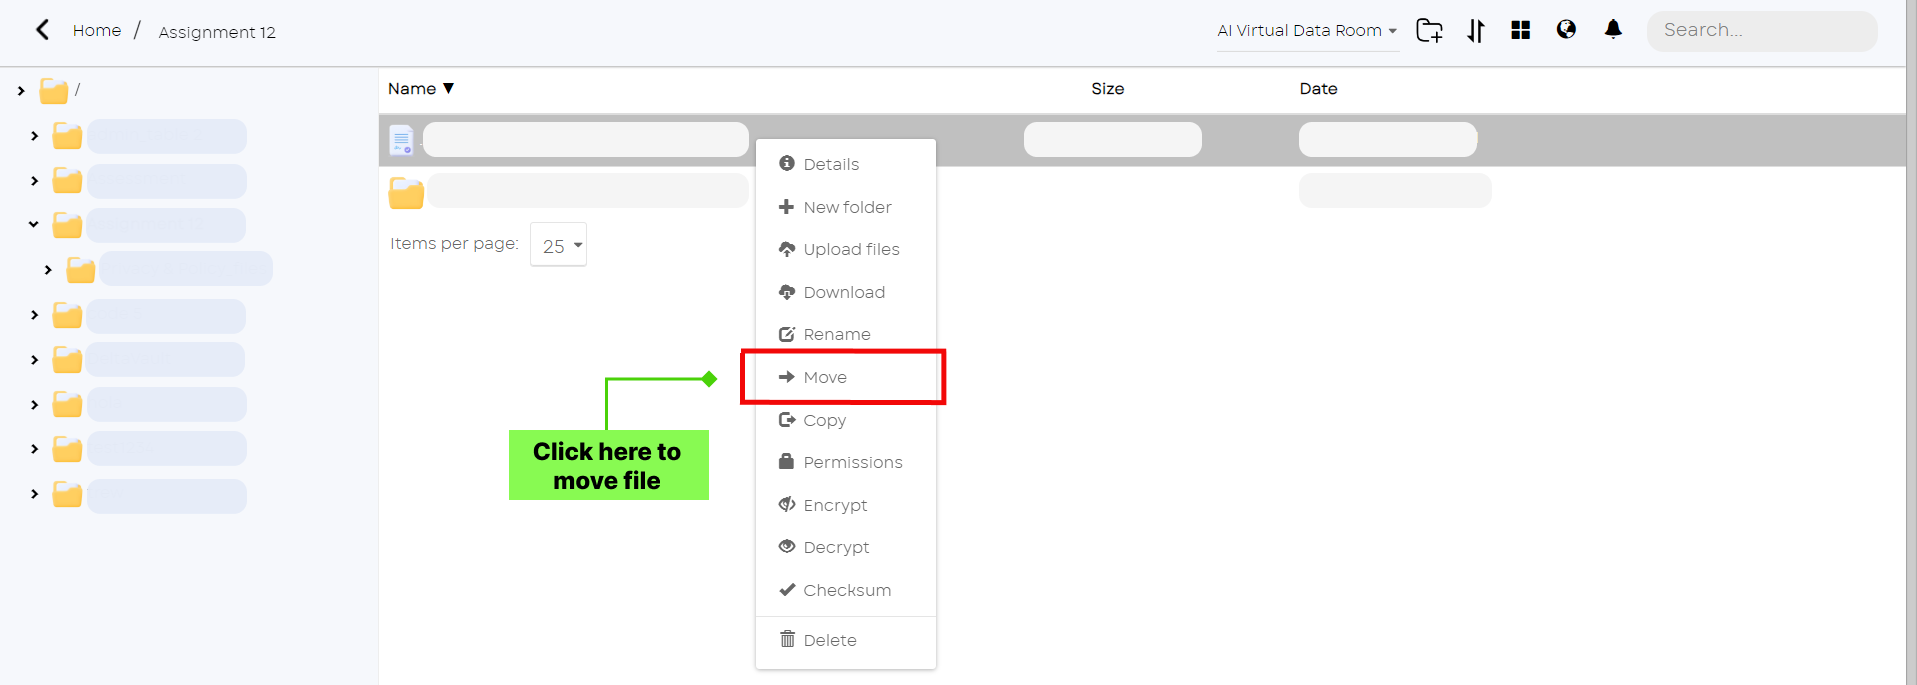
Click on ‘change’ to move the selected file to the desired folder


Click on move once the destination folder is selected and files gets moved into it.

By right clicking on the file, select ‘copy’
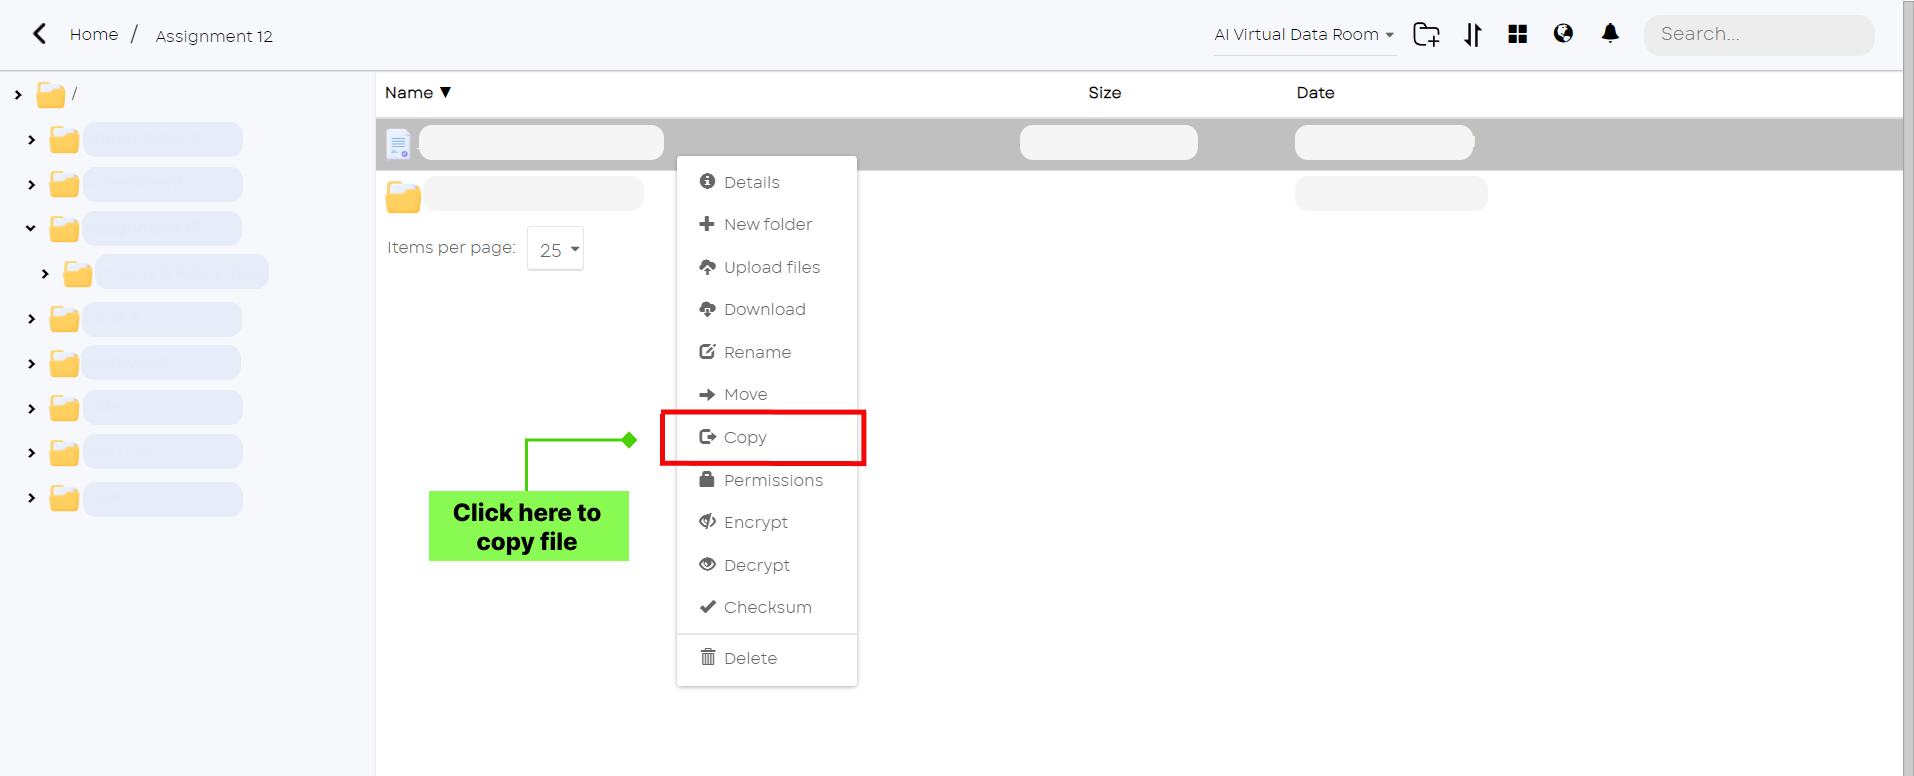
Click on ‘copy’ to move the selected file to the desired folder

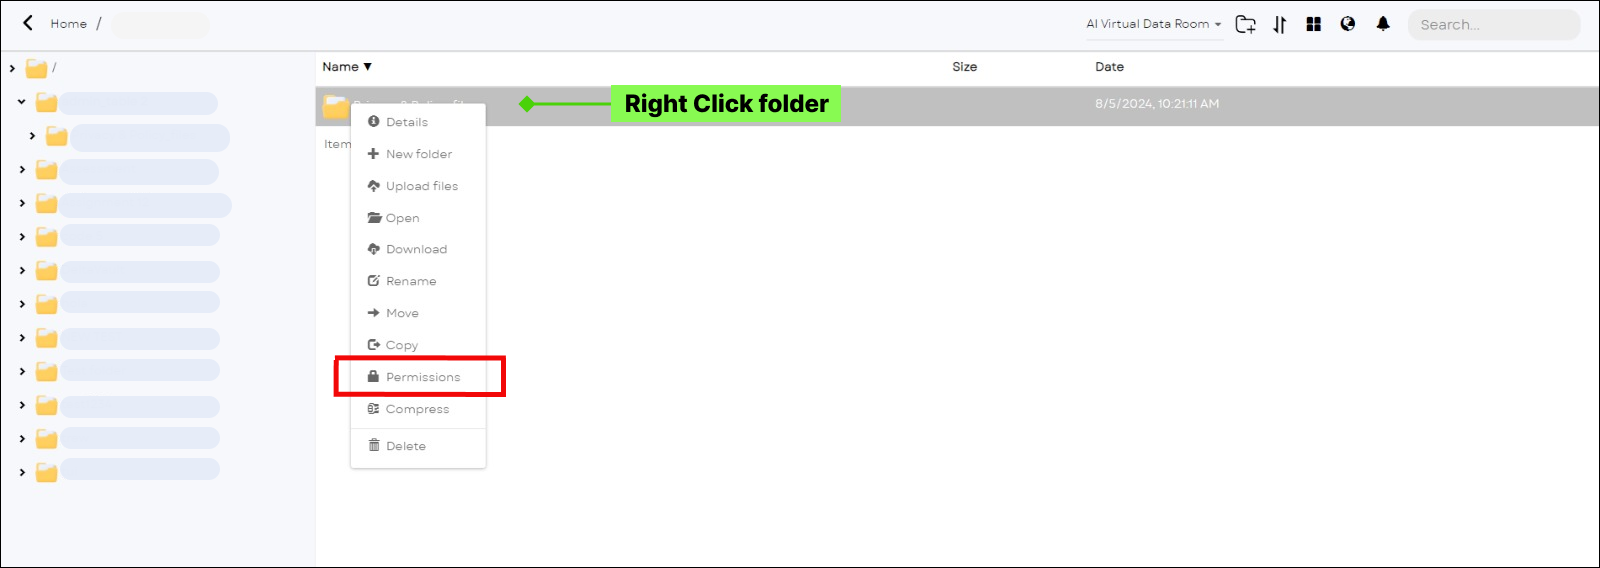
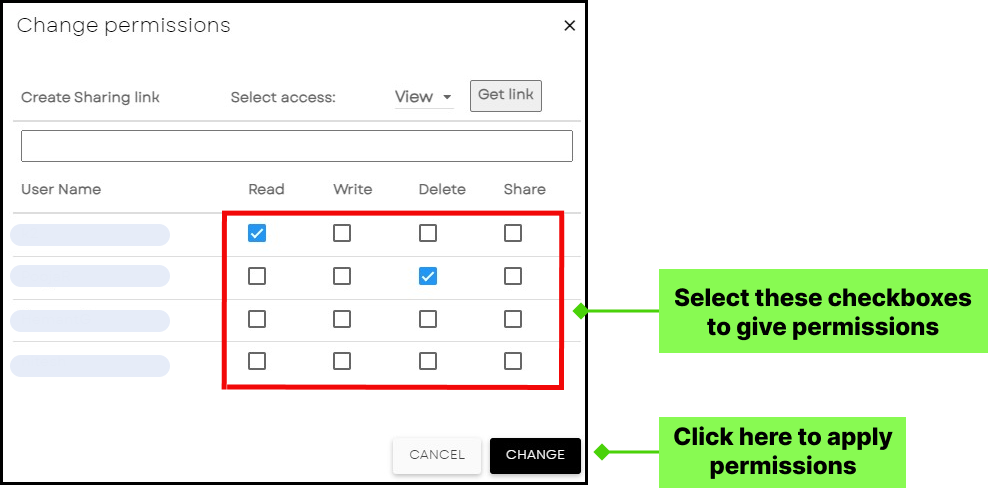
By Right Clicking on ‘Permission’, Admin will list of users’ list and Read, Write, Delete and share permission.

By giving the above desired access by admin , standard users is authorized to view, edit, delete or share the file.

By Right Clicking on ‘Permission’, Admin will list of users’ list and Read, Write, Delete and share permission.
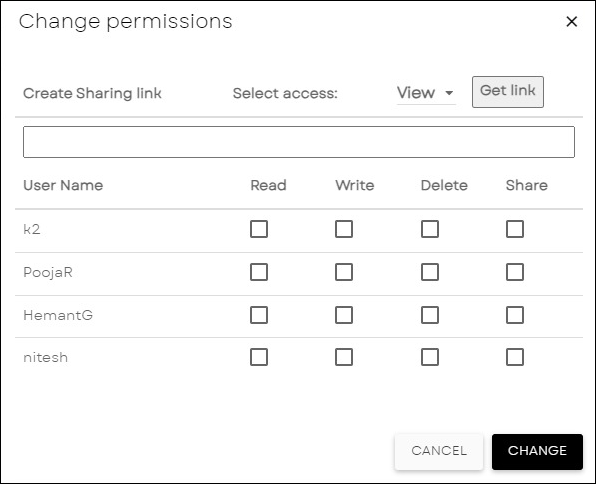
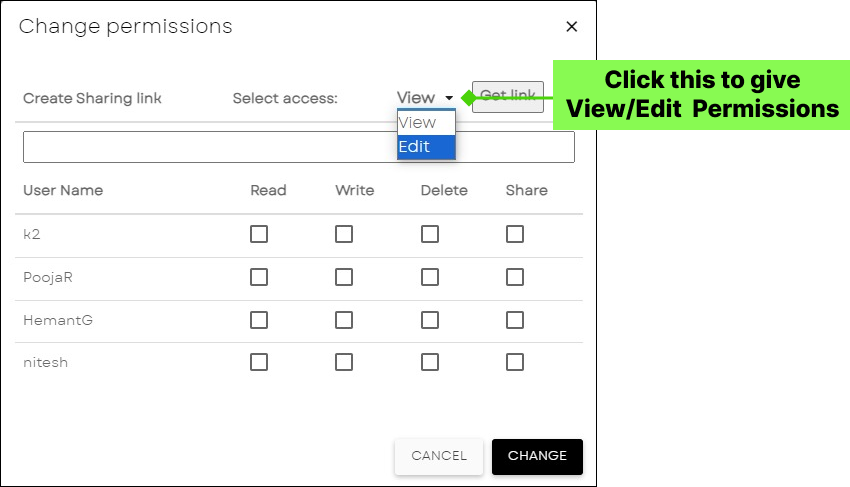
By giving the above desired access by admin , standard users is authorized to view, edit, delete or share the file.
Dyma Vault protects your data whenever you transfer, store, or access it. A single click to securely encrypt your data using industry standard AES-256 encryption. And equally simple way to decrypt files encrypted with Dyma Vault.
To encrypt file follow below steps:
Right click on the target file, then you will see a “Encrypt” option, click on this option to encrypt files
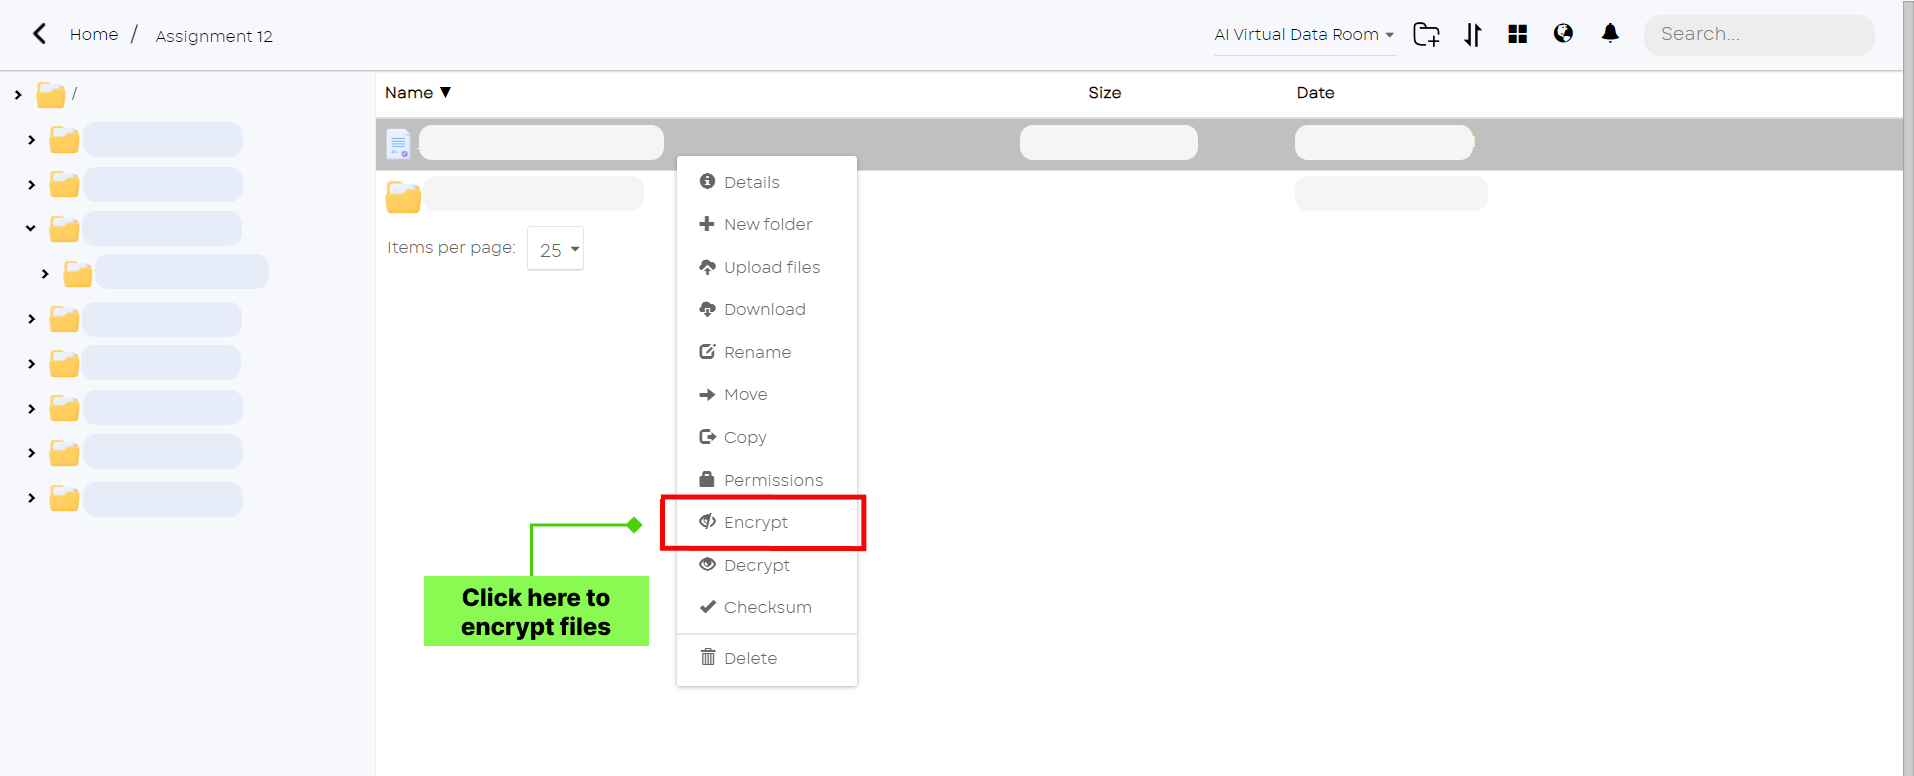

After the above step, you will see a popup window. You can edit the file name, enter the Key (compulsory) which will be required to decrypt the same file and then click on "Encrypt" button.
To decrypt file, follow below steps:
Similarly, right click on the target file, then you will see a “Decrypt” option, click on this option to decrypt files.
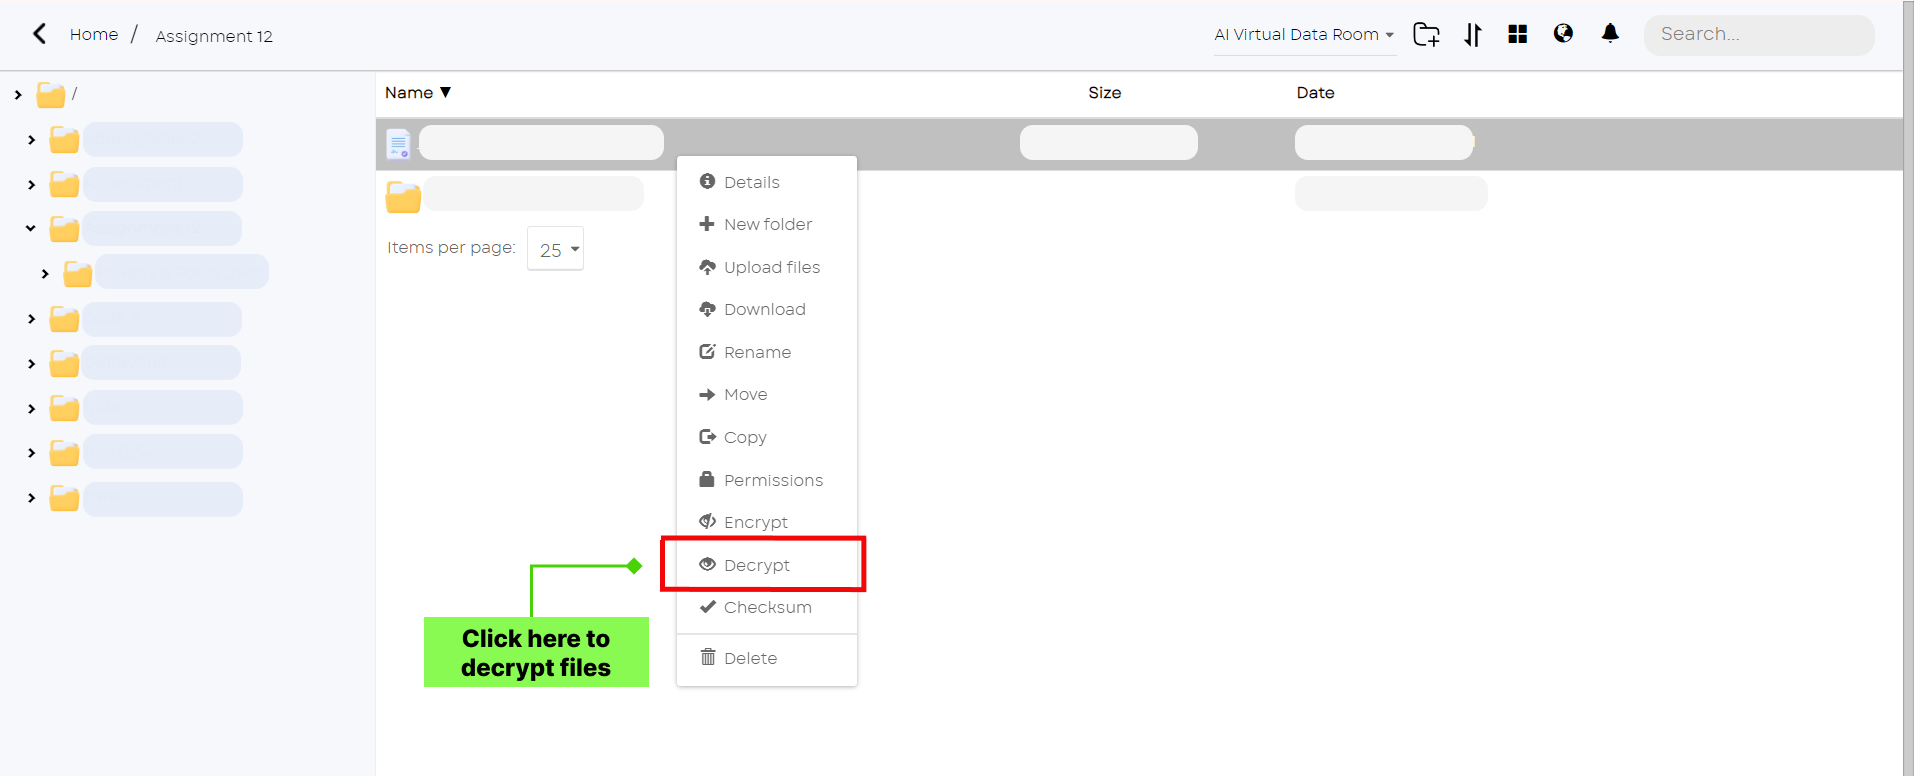

You can edit the file name, enter the correct Key (compulsory) which was used to encrypt the selected file and then click on "Decrypt" button.
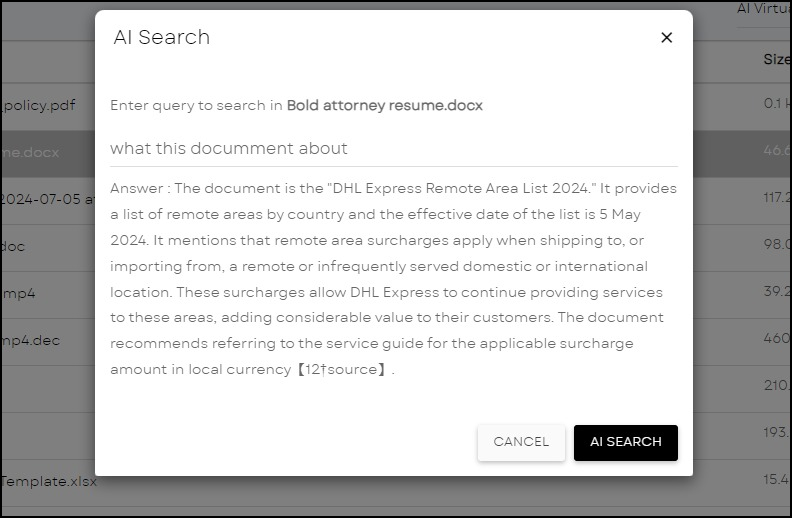
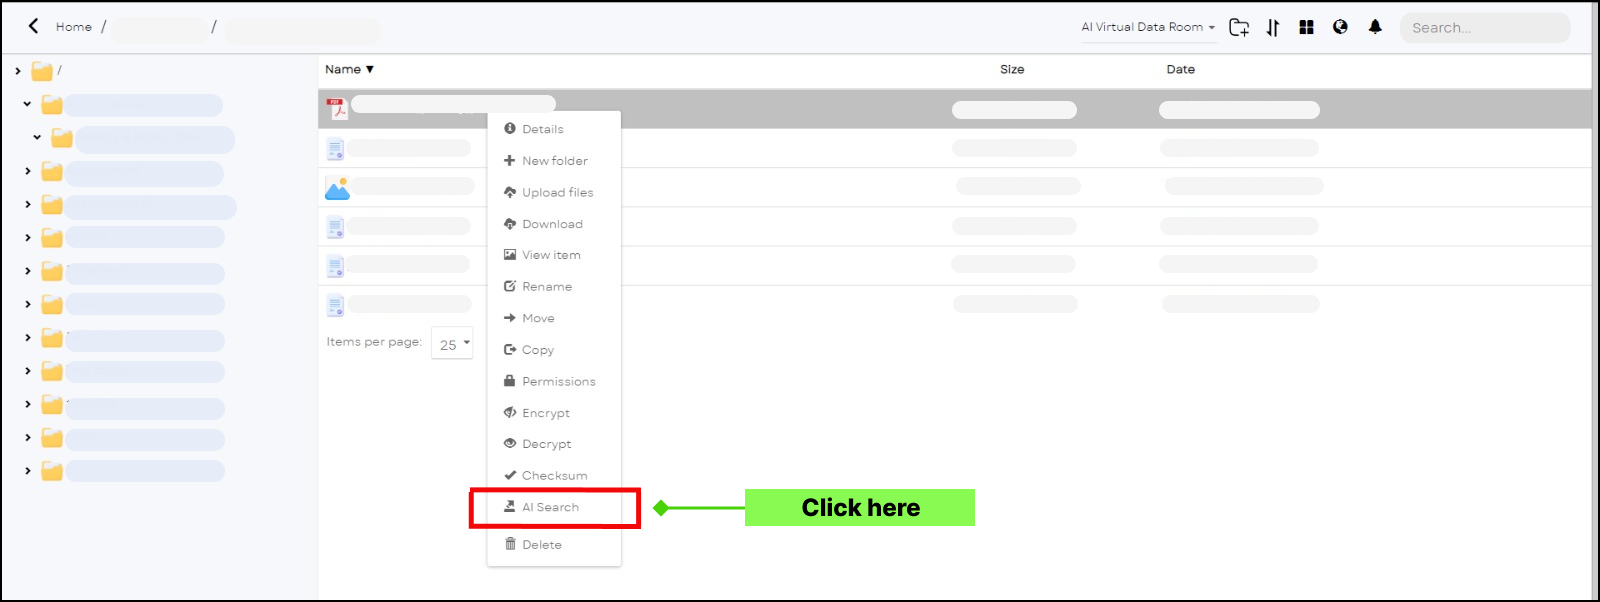
Select any Document and by right clicking you see AI Search Functionality. Click on the AI Search.
Hit the query in box you have related to selected document.

You’ll get the desired answer simply by asking just a question.
